
Support center NAO6

NAO configuration and settings

Robot settings

For advanced NAO’s update and settings use Robot setting applications.

  • The settings management of NAO is available in the “Robot Settings” software that you need to download on your computer. Robot Settings
  • Make sure your computer and NAO are connected to the same network to be able to connect.
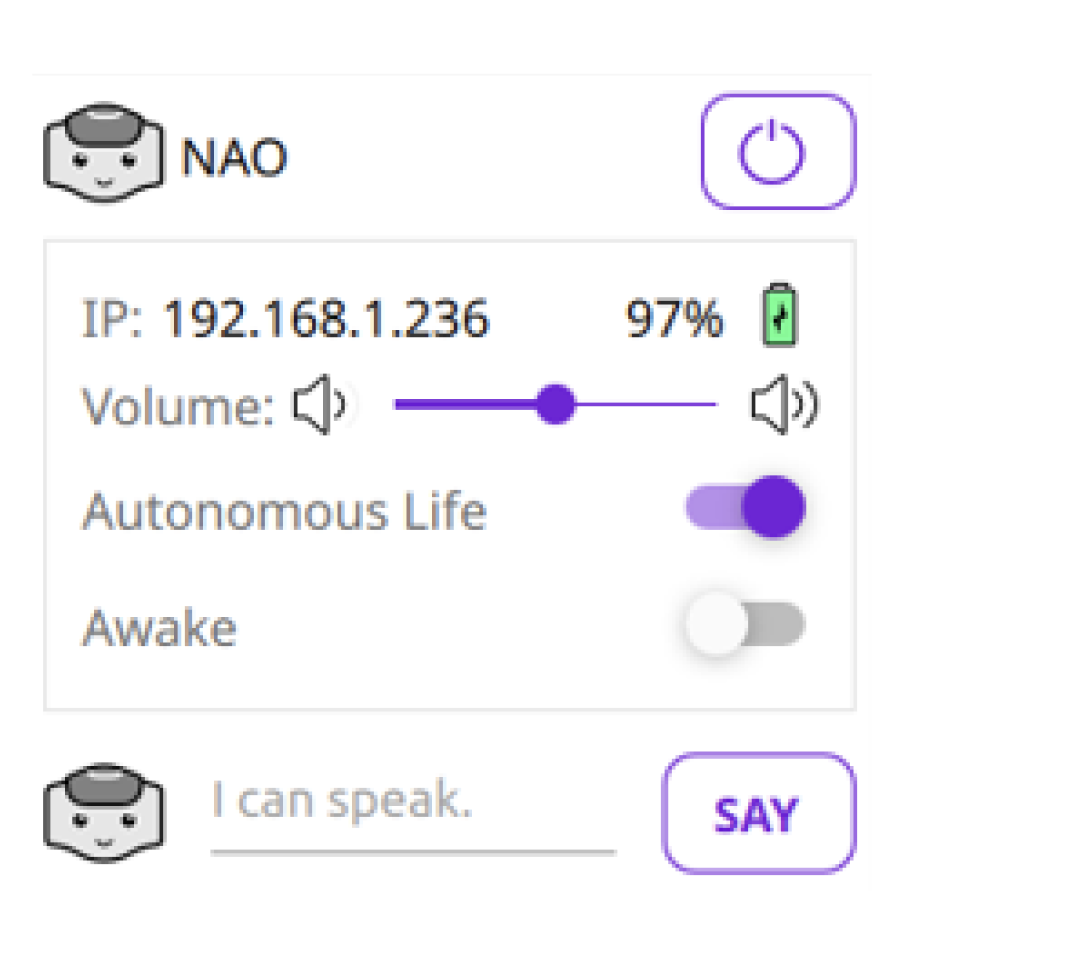
  • To connect to NAO and Robot Settings, press the chest button of NAO and enter the Internet address in Robot Settings. Do not forget the dot between the numbers (ie: 10.25.43.198)


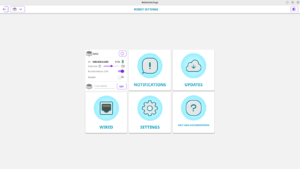
  • Shutdown button
  • IP, Battery level
  • Volume
  • Autonomous Life on/off
  • Awake on/off
  • Say

Accessing to Robot Settings

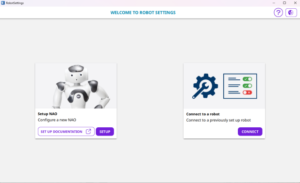
On your computer, launch Robot settings. Click the Connect button.

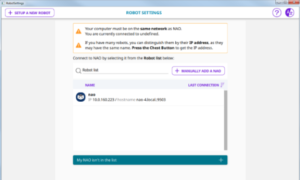
Select or add your robot. If your robot appears in the list, select it.
If your robot does not appear in the list, click the Manually.

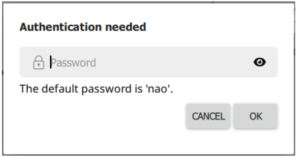
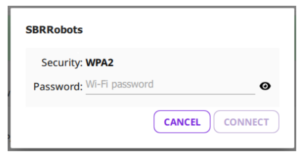
Enter its password.

Why setting a WiFi connection ?

You can connect NAO to your computer using a wired or WiFi connection:

  • Wired connection is mandatory for the initial settings.
  • WiFi connection is highly recommended as soon as NAO starts moving.

Wi-Fi Management

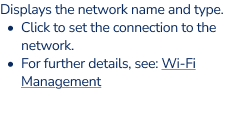
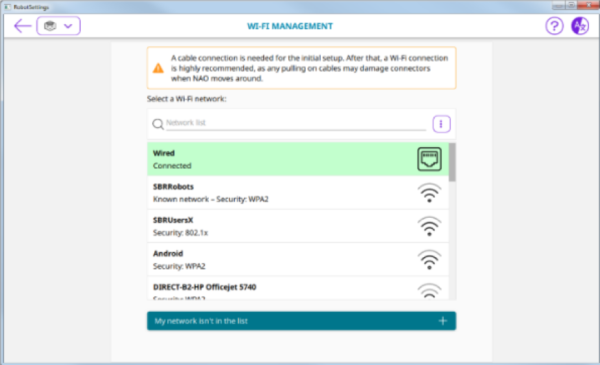
Wi-Fi Management section allows you to set the connection to the network.

Prerequiers for wifi connexion

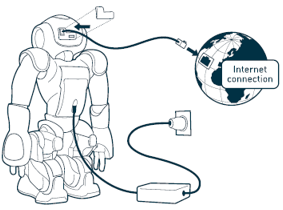
Remove the hatch behind the head of the robot to access to the Ethernet socket. Plug an Ethernet cable.
Connect the Ethernet cable to your Internet box.

On a computer, launch Robot Settings. In the Wi-Fi Management page, choose and configure a WiFi network. The WiFi connection is set, you can now disconnect the Ethernet cable and close the hatch behind the head of the robot.


Standard WiFi connection

Select one of the available WiFi networks. Complete the required parameters, and click the Connect button.

WiFi connection to a hidden network

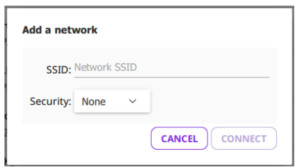
Click the tree dots option menu and select Add a Wi-Fi network.

Network informations

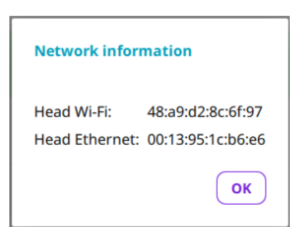
Click the tree dots option menu and select Network info. Network information displays the MAC Addresses you could need if your WiFi access point requires to set the MAC Address filtering.

Wired connection

Remove the hatch behind the head of the robot to access to the Ethernet socket. Plug an Ethernet cable.
Connect the Ethernet cable to your Internet box. The Wired network appears in the list.

Plugging my robot to Ethernet

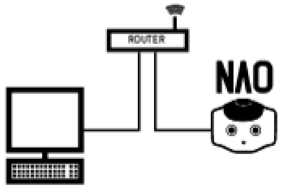
If you have a router with a spare Ethernet port: Connect the Ethernet cable to the router.
The router will act as a DHCP server and give NAO it’s IP address.

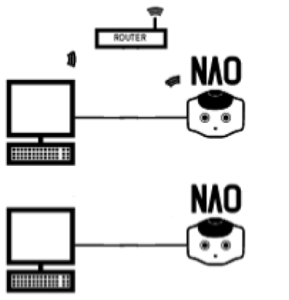
If you have no spare Ethernet port or no router at all: Connect the Ethernet cable to your computer.
(For Linux users : see Local-Link an alternative to DHCP in order to check if your network manager is set for using link-local.)
In case of local connection to a computer, the SoftBank Robotics Cloud may not be reachable. Nevertheless, local connection to Robot Settings and Choregraphe is still possible.

Local-Link an alternative to DHCP

In case of network without DHCP, it is possible to use link-local addressing. Link-Local is a standardized alternative to settings static IP address. With this feature you can obtain an address automatically, and establish a local network communication between your NAO and your computer.
If your NAO say that he got an address in the range of 169.254.X.X, the reason is haven’t discover any DHCP server and NAO has fall back to Local-Link.
Since 1.12 version you can just plug a network wire between your NAO and your PC, and obtain a communication without setting a static IP address. For MAC and Windows computer you have nothing to do to make it work, with Linux PC please verify if your network manager is set for using link-local.

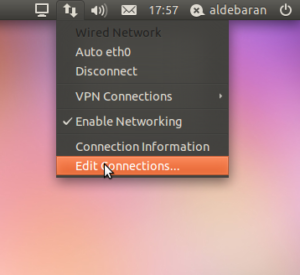
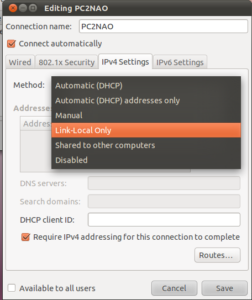
  • On the nm-applet click on “Edit Connections…”
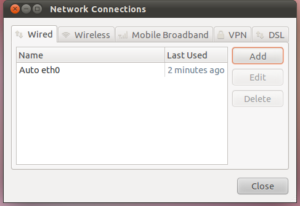
  • Add a new profile to connect to NAO directly. Click on Add.
  • Choose a nice name for your configuration here “PC2NAO”.

Select the tab IPv4Settings, and change the Method to Link-Local Only.

Click on Save, and close the menu.

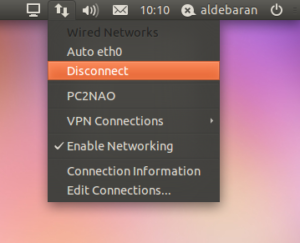
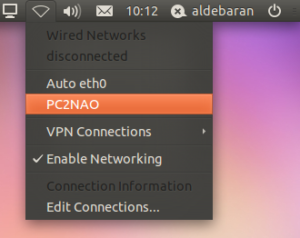
  • Disconnect from the previous profile.
  • Activate the new profile here “PC2NAO”.

Now you can plug an Ethernet wire directly between tour computer and your NAO.

Register first your NAO to the Maxtronics application Store

  • On a computer, launch Robot Settings,
  • Click the Settings page.
  • Click the Edit button of Maxtronics Account field.
  • Type the Email and Password of your Maxtronics Cloud account*.
  • Click the Log in Button

*If you don’t remember your password click on Forgot password

If you don’t have an account yet, create a new account.

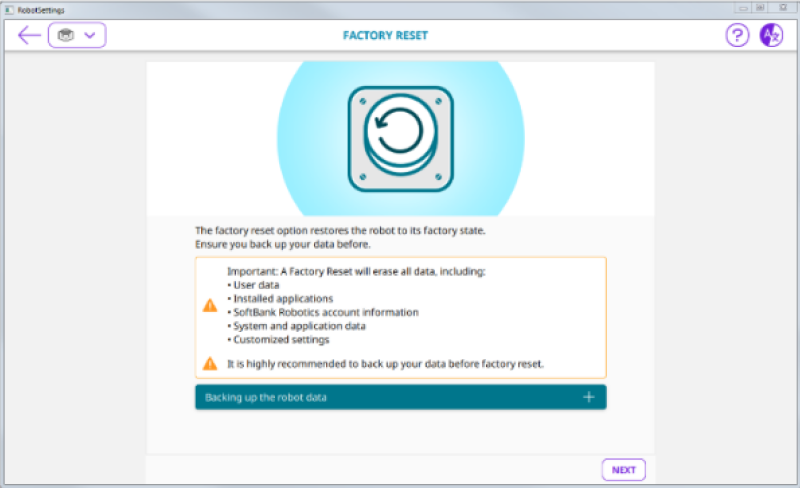
Factory Reset

This command resets the whole system in a similar state as if the robot was just out of the factory.

Before performing a Factory reset, make sure you have previously back up robot data.
For further details, see: Back up my robot user data.


Settings sections

Settings section displays the advanced settings of the robot.


The “See installed content” button


Display the list of installed content such as applications and languages.

Robot name


Allows you to set the name of your NAO

Maxtronics Account


Allows you to register this NAO on your Maxtronics account.

Robot Language

 
List of languages installed on NAO. Allows you to select the Language currently used by NAO. Check all the available 21 languages

Safety and security

 
Safety and security choice. If you choose the “new set-up”, Robot settings will shut down. You will need to create an SSH tunnel to use the robot and its softwares. To create an SSH tunnel, follow the instructions of the SSH tunnel configuration guide.

Timezone

 
Allows you to set the time zone.

Enable Autonomous life startup


Allows you to enable or disable the Autonomous Life at startup.

Warning: if you disable Autonomous Life at startup, your NAO will remain static, and you will not be able to chat or launch activities by voice.

Send reports to Maxtronics

 
Allows you to enable or disable the Usage Feedback.

Authorize deactivation of the Safety reflexes

 
Consent for the deactivation of safety reflexes Disabled by default. To be used with caution. If activated, it will be programmatically possible to deactivate safety reflexes.

Reset password

 
Allows you to set the password of your NAO.

Factory reset button

 
Starts a Factory reset of NAO. For further details see: Factory reset.

When do I need to update my NAO ?

Aldebaran store will end on October 1st 2026. To continue using NAO Cloud services from Maxtronics, please update your NAO.

Follow this procedure and check what’s new New SW update NAO6

You can trigger the update using Robot Settings, when:

  • You can trigger the update using Robot Settings, when:

  • You want to retrieve the last release of already installed applications.

  • You have selected new applications on the NAO Apps Store.


Updating your NAO

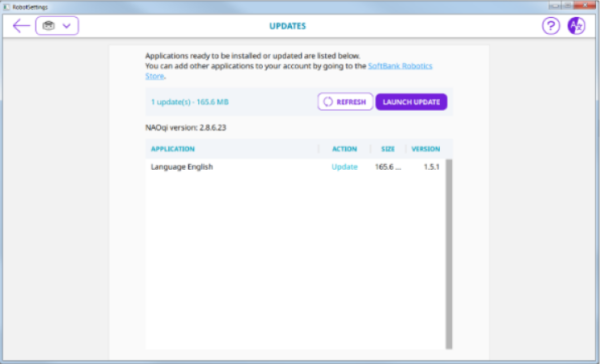
  • Make sure your NAO is turned on and connected to the network. Press its Chest button once. If NAO says its name and IP address, connection is OK.
  • On a computer, launch Robot Settings.
  • Click the Updates page.
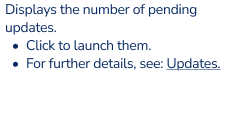
  • Applications needing to be updated appear.
  • Click the Launch update button.

Downloading a system image

When a new system image is available for download, the Robot Settings displays a NAOqi upgrade alert.
This automatic download is the result of a a setting defined on the Maxtronics Application Store. 

Check the battery level.
Important: make sure the robot battery is fully charged: a power shortage during upgrading could leave the robot in a fatal state. If your battery has a limited capacity, you should leave the charger plugged during the upgrade. However it could be wise to order a new battery.

To download the system image:

  • Click the Update button.
  • A progression bar appears. Wait until prompted.
  • Click the ”Reboot now” button.

The boot process can take a long time. For further details, see: Upgrading.


Robot systeme automatic update

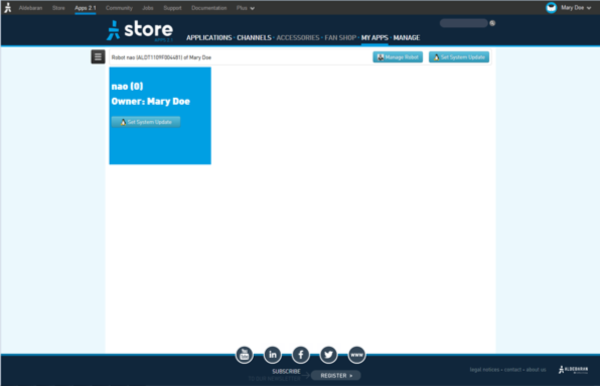
On the NAO Apps Store, choose My Apps.

https://cloud.nao6.maxtronics.com/

Click the Set System Update button.
Choose the parameters you want.
Click the Use this configuration button.
The Robot linked to your account will update its System accordingly.


How will I know a system update is ready ?

  • The Robot settings displays a message:
  • If you do not check the Robot settings, then a notification informs you and suggests you should reboot your NAO.

Applications management

A Channel is a way to update dynamically applications on your robot.


Subscribing to a Channel, ensures the applications you need are automatically added, updated, and removed, when necessary.

The application will be installed at the next robot update.

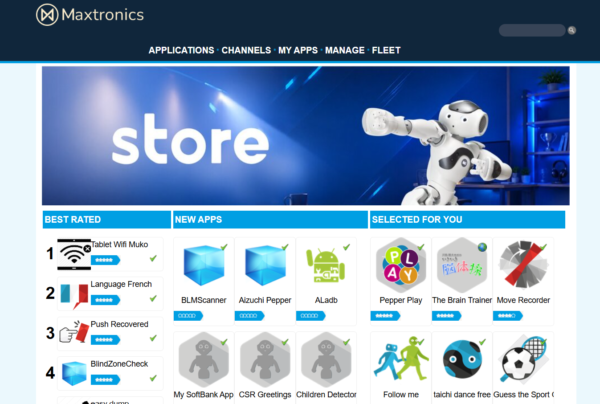
On the Maxtronics Application Store, choose Channels.

Click the plus button of the Channel you want to subscribe to. The background becomes green.
As soon as your NAO is turned on and connected, the Channel will automatically update the last release of the applications and resources included in the Channel. Then open Robot Settings to update your robot content.